Adding a blur effect to videos is a game-changer for anyone looking to protect privacy, create professional-looking content, or add artistic flair to their projects. Whether you’re a social media creator, a journalist, or a business owner, mastering this technique has never been easier. In this guide, we’ll walk you through how to blur a video using BlurMe’s blur video tool to achieve the perfect blur for your videos.
Why Add Blur Effects to Videos?
Blurring serves multiple purposes, including:
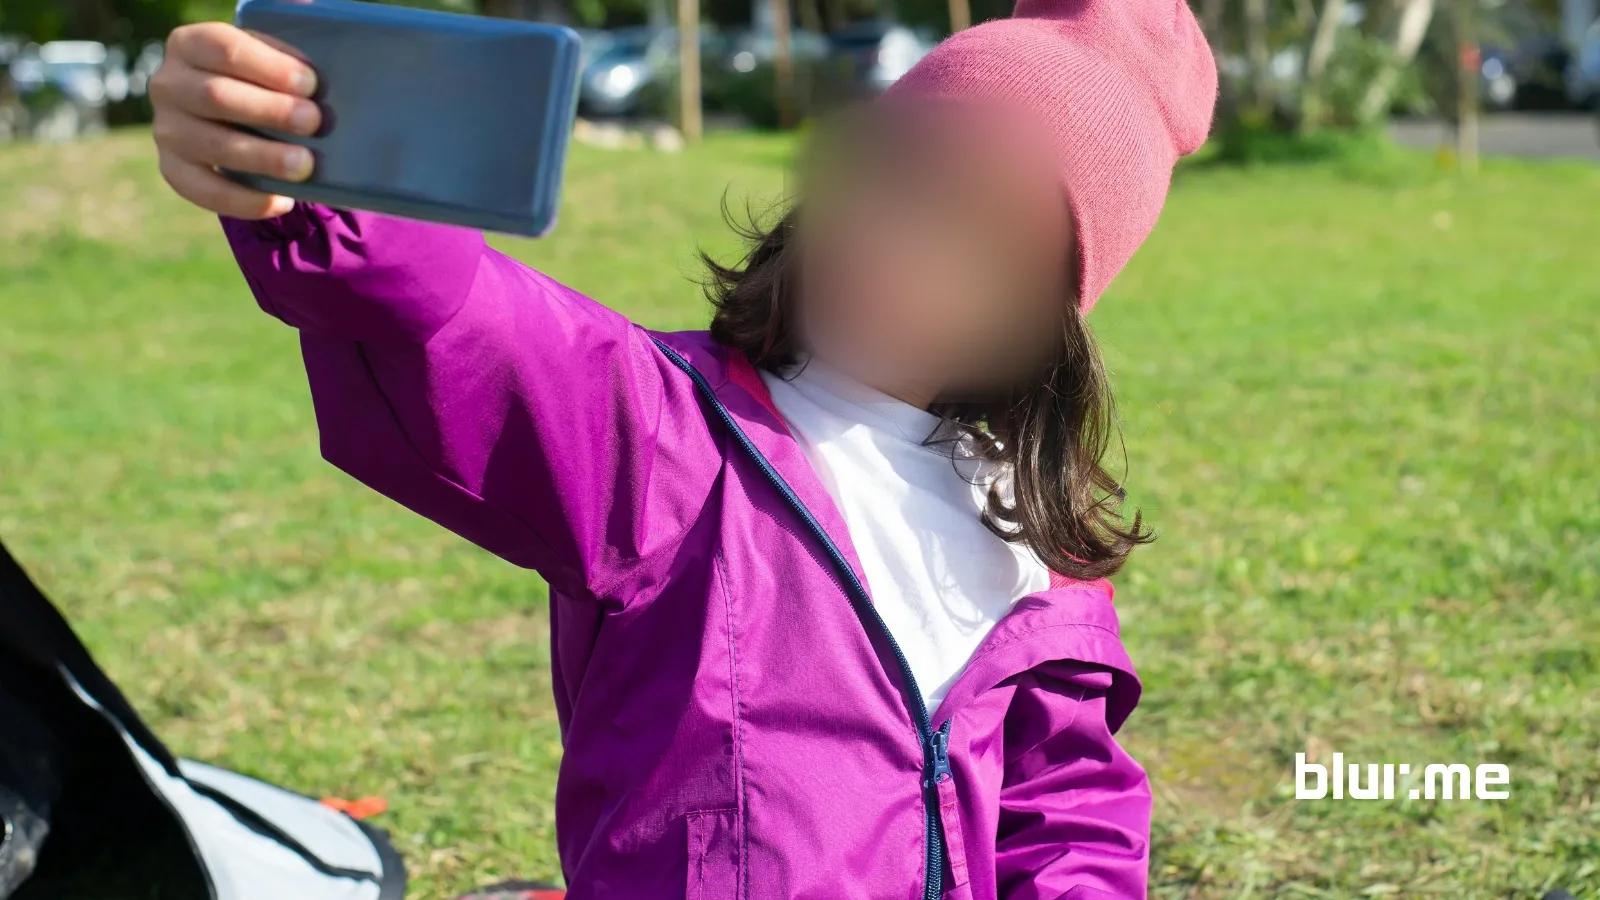
- Protecting Privacy: Hide sensitive information, such as faces, license plates, or documents.
- Enhancing Aesthetics: Focus attention on specific areas by blurring out distractions.
- Complying with Privacy Laws: Avoid legal issues by masking private data to comply with GDPR or other privacy regulations.
How To Blur A Video
With BlurMe, blurring a video is simple and intuitive, even for beginners. Here’s a step-by-step guide how to blur a video:
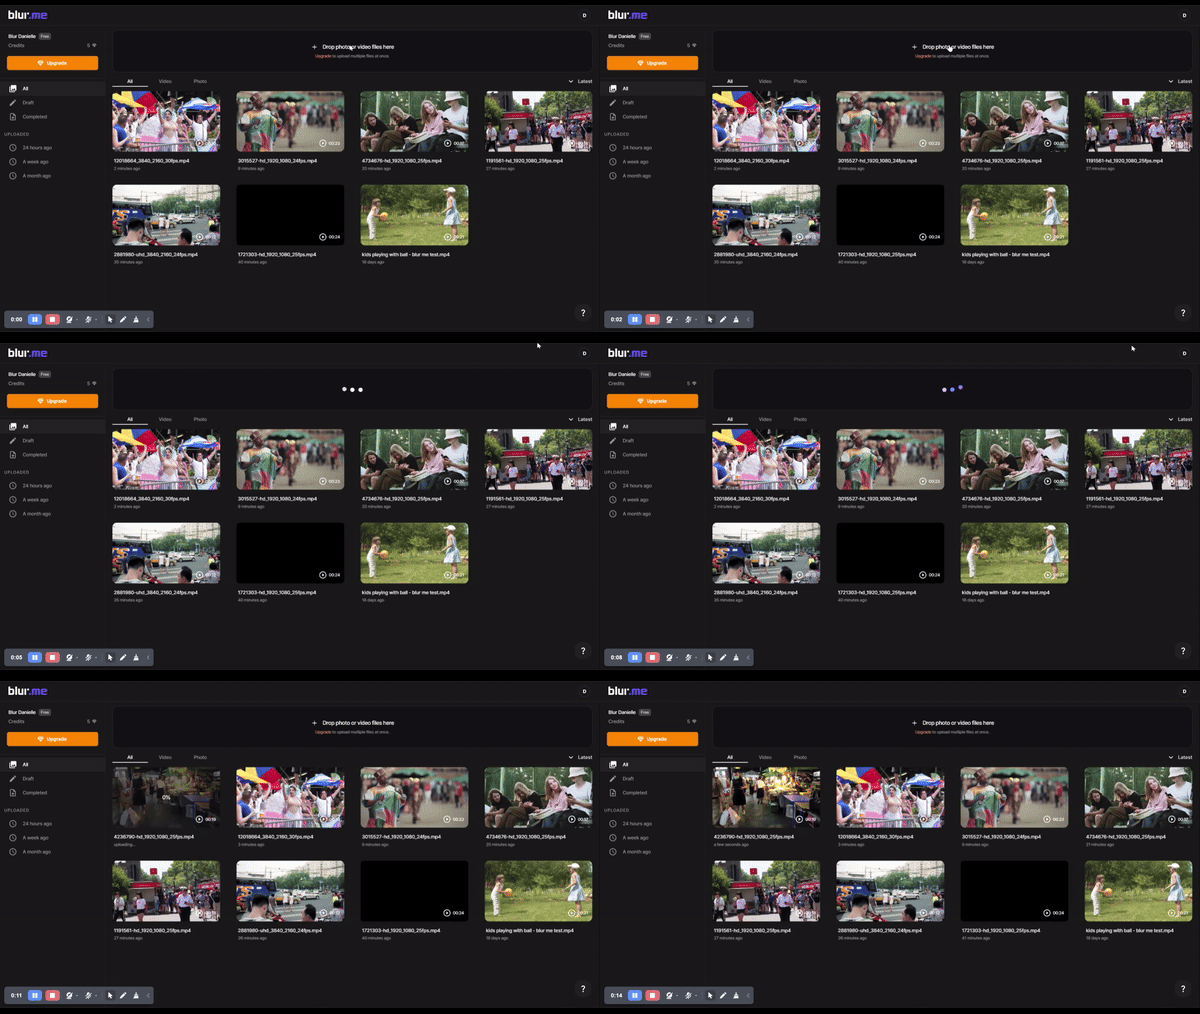
Step 1: Upload Your Video
Start by logging into your BlurMe account and uploading your video file. BlurMe supports all popular formats like MP4, AVI, and MOV, ensuring a seamless upload experience.

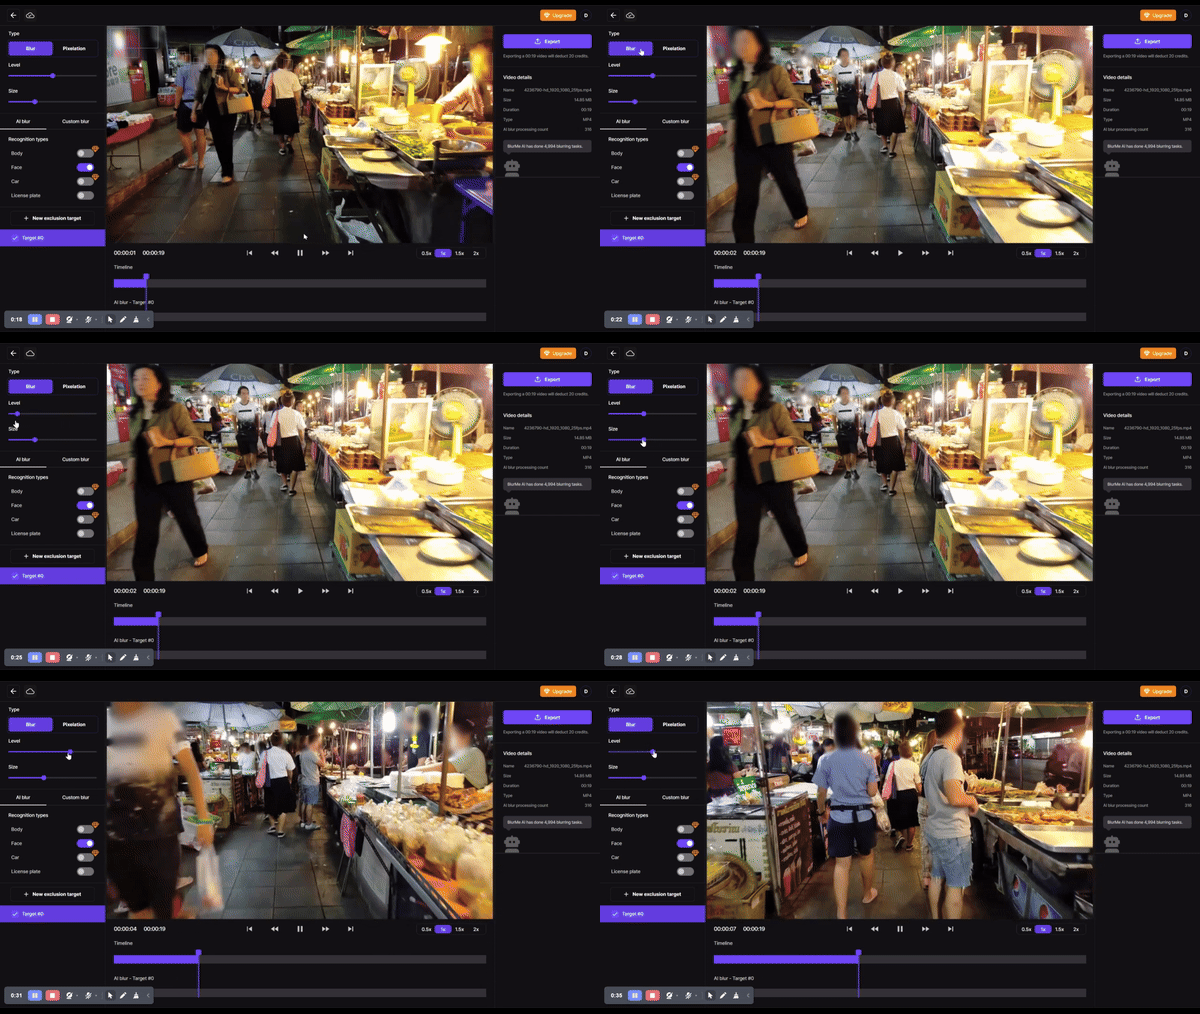
Step 2: Select the Blur Tool
Navigate to the Blur Tool section in the interface. BlurMe offers a variety of blurring, including:
- Face Blur: Automatically detects and blurs faces.
- Body Blur: Manually select areas on the body to blur.
- Car Blur: Select cars and vehicles to blur.
- License Plate Blur: Smoothly blur license plate numbers. Learn more about why you should blur license plates on BlurMe.
Step 3: Adjust the Blur Intensity
Use the slider to control the intensity of the blur effect. For privacy purposes, a heavier blur is recommended. For aesthetic purposes, a softer blur may be sufficient.

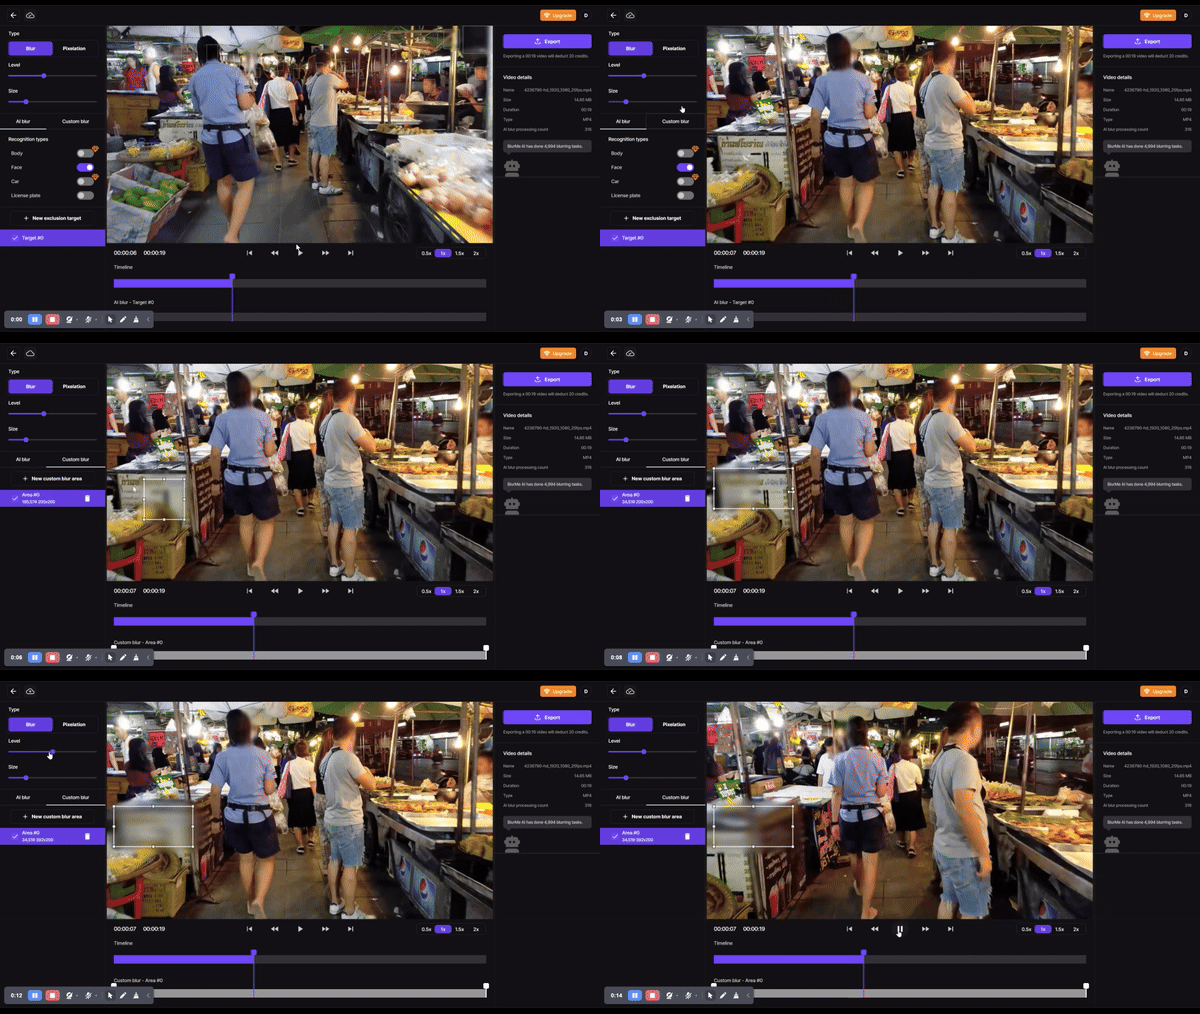
Step 4: Use Custom Blur for Additional Blurring Effect
BlurMe also allows you to custom blur parts of your video. Select Custom Blur and then manually select the area you would like to blur. Adjust the intensity and size according to your needs.

Step 5: Preview Your Work
Before finalizing, constantly preview and watch your video live in the BlurMe Studio to see how your video looks with the applied blur. This ensures you get the desired result before exporting. Additionally, if you are interested in image pixelation, you can learn how to pixelate an image and how to blur different formats on BlurMe as well.
Step 6: Export and Share
Once satisfied, export your video in high resolution. BlurMe optimizes videos to maximize the quality of your export and can be easily shared across all social media platforms such as TikTok, Facebook, Youtube and Twitter X for your anonymized content needs.
Tips for Using BlurMe Effectively
- Keep It Natural: Over-blurring can distract viewers. Aim for a balance that protects privacy without compromising video quality.
- Focus on Key Elements: Use blur to guide your audience’s attention to specific parts of the video.
- Experiment with Blurring: BlurMe’s tools allow for creative experimentation, so try different effects to enhance your storytelling.
Why Choose BlurMe?
BlurMe is an industry leader in AI-powered face blur tools for privacy protection. Here’s why BlurMe is the best face blur tool:
- Ease of Use: No technical expertise needed.
- AI Automation: Save time with automated face detection and motion tracking.
- Versatile Applications: Ideal for personal, professional, or commercial projects.
Final Thoughts
Adding a blur effect to videos doesn’t have to be complicated. With BlurMe’s intuitive platform, you can achieve professional results in just a few clicks. Whether you’re simply blurring a picture, protecting your loved ones from online predators or enhancing your content’s appeal with the latest AI tech, BlurMe’s tools ensure a smooth, stress-free process.

So why wait? Try BlurMe today and see how easy blurring your videos can be!


