Sometimes, a picture needs a little touch-up—maybe it’s hiding a sensitive detail or just adding a creative blur to make your subject pop. Whatever the reason, blurring a picture can be an essential skill. With BlurMe, the process is not only fast but also incredibly user-friendly. Follow this guide to learn how to blur a picture online with ease.
What Does It Mean to Blur a Picture?
Blurring transforms parts of an image into soft, indistinct visuals, concealing details while keeping the rest of the photo intact. Think of it as the digital equivalent of frosting over your window—not just for privacy, but sometimes for style.
Why Blur a Picture?
Common uses for blurring a picture include:
- Anonymizing Faces: Protect people’s identities in photos or videos.
- Hiding Private Details: Obscure addresses, phone numbers, or sensitive text.
- Artistic Effects: Make your subject pop by creating a dreamy, blurred background.
- Meeting Privacy Laws: Stay GDPR-compliant by concealing identifying information. For privacy or creative enhancement, blurring is versatile and essential.
Learn more about the importance of anonymized videos and the differences between redacted videos on BlurMe.
How to Blur a Picture with BlurMe
Follow these simple steps to blur a picture with BlurMe’s AI-powered blur tools:
Step 1: Upload Your Picture
- Visit the BlurMe website and sign up for free.
- Drag your files or click on the large "Drop photo or video files here" upload zone.
- Select the picture you want to blur from your device. You can upload images in popular formats like PNG, JPEG or JPG. You can visit BlurMe’s blog to learn more about how to blur PNG images and other formats.

Step 2: Choose the Blur Tool
Once your picture is uploaded, you can blur your picture:
- Click your uploaded picture and go to the BlurMe Studio page of the BlurMe website.
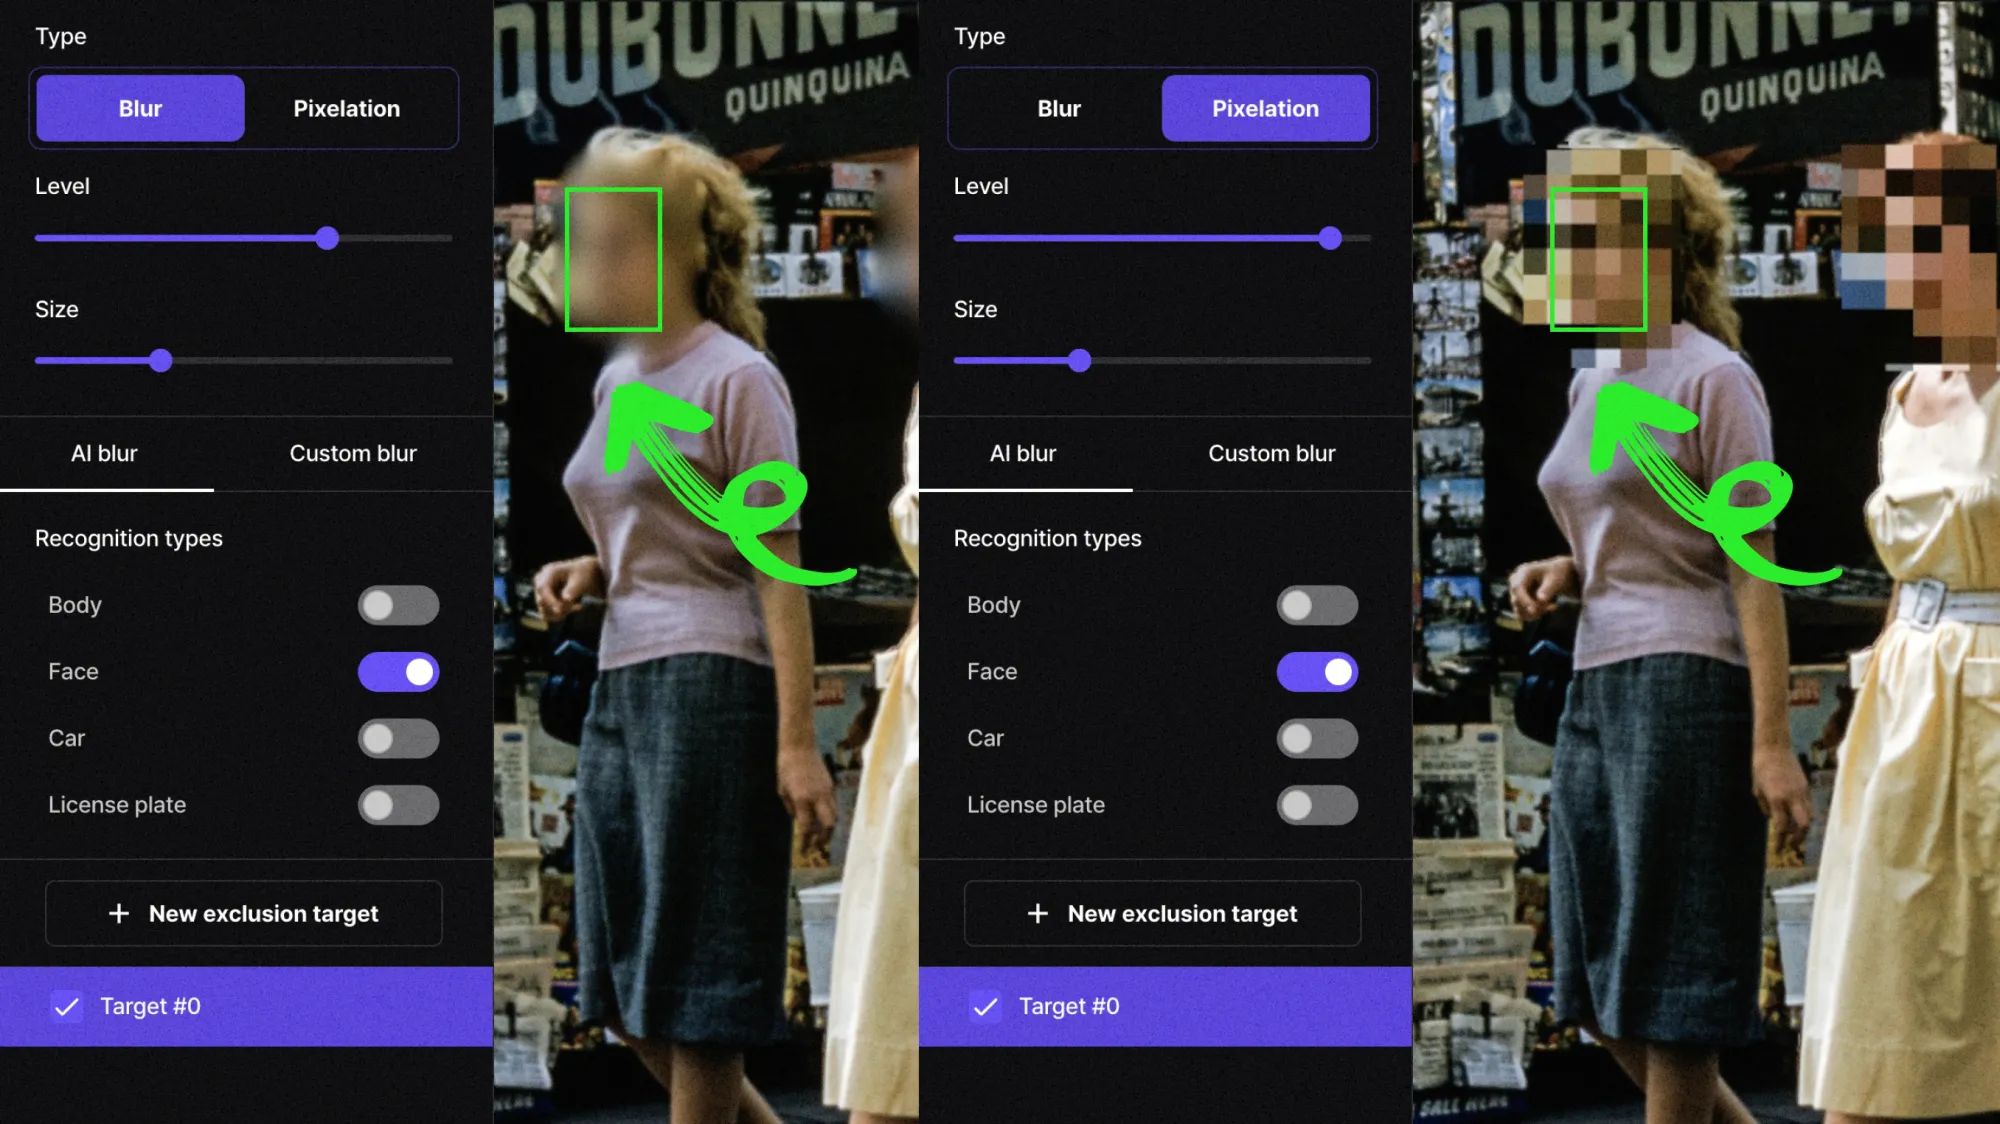
- Select the Type of Blur Tool you want, Blur or Pixelation from the toolbar. Adjust the Level and Size of your Blur Tool. BlurMe will automatically detect and blur faces in your picture, if you want to manually set the blurring, go to Step 3.

Step 3: Define the Area to Blur
BlurMe offers flexible options to customize the blur effect:
Option 1: AI Blur
BlurMe offers a variety of AI detection blurring, including:
- Face Blur: Automatically detect and blur face in photo and video.
- Body Blur: Manually select areas on the body to blur.
- Car Blur: Select cars and vehicles to blur.
- License Plate Blur: Smoothly blur license plate numbers to cover license plates.
Option 2: Custom Blur
BlurMe also allows you to custom blur parts of your video. Select Custom Blur and then manually select the area you would like to blur. This is how to blur a part of your picture.

Step 4: Save and Download Your Picture
- Once satisfied with your edits, click on the "Export" button.
- Download the blurred picture to your device or share it directly on platforms like Instagram, TikTok, or YouTube.
Blur or Pixelate: What’s the Difference?
Blur and pixelation both obscure details, but they do so in distinct ways:
- Blur: Creates a soft, smooth concealment, great for subtlety.
- Pixelation: Turns the area into bold square blocks, making it clear you’ve hidden something.
Choose to blur images for elegance or choose to pixelate images for a stronger visual statement.
Visit BlurMe to learn more about how to pixelate images and how to pixelate videos.
Why Use BlurMe to Blur Your Pictures?
BlurMe isn’t just another editing tool; it’s the ultimate blur tool. Here’s why users love it:
- AI-Powered Detection: BlurMe detects and blurs faces so you don’t have to.
- Ease of Use: No editing experience required—our interface is simple and intuitive.
- Privacy First: Your photos are processed securely.
- Super Responsive: Our website allows you to blur faces on iPhone and other mobile systems without downloading an app.

Blurring a picture has never been easier. Try BlurMe today and experience the easiest way to blur images and video online.


